PayAnywhere – Receipts, Revamped

News
Version 5.3 of the PayAnywhere app comes with all sorts of exciting updates and enhancements. In today’s blog post we’ll take a look at how to customize your receipts!
To set up your newly designed receipt in the PayAnywhere app, head to Settings → Receipt Settings.

- Add your own logo (note that the optimal size is 300x300).
- Stay connected by linking customers to your social media accounts. Toggle “Display Social Media Buttons” to “On.”
- The “Custom Header Message” displays here.
- Customers can now rate their visit. Simply toggle “Enable Customer Ratings” to “On.” Customer Experience Reports are generated in PayAnywhere Inside.
- This is where itemized and specific transaction information is displayed.

- All of your business information goes here.
- You can also include a “Custom Footer Message” which is useful for things like stating your return policy or announcing any upcoming promotions.
In order to create your newly designed receipt, you’ll be required to update to PayAnywhere version 5.3.2. Not sure which version you’re currently running? Turn on automatic updates so you’ll always have the latest version of PayAnywhere.
Have questions? Check out the FAQ or reach out to us at custservice@payanywhere.com.
Related Reading
There are no mosts posts to display.
Start your Payanywhere account.
Start your Payanywhere account.
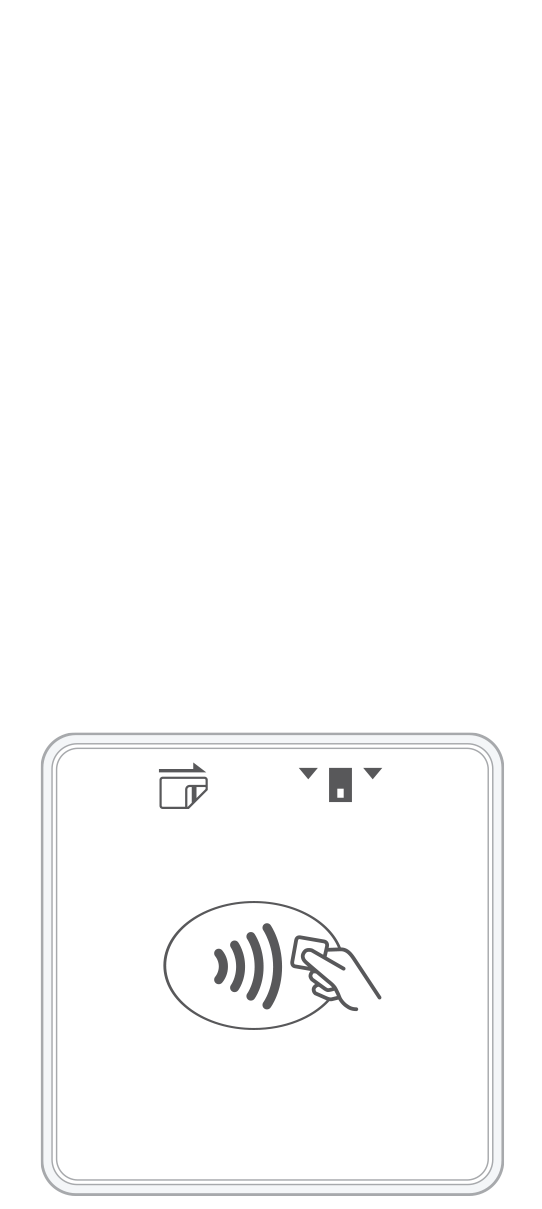 3-in-1 Reader | 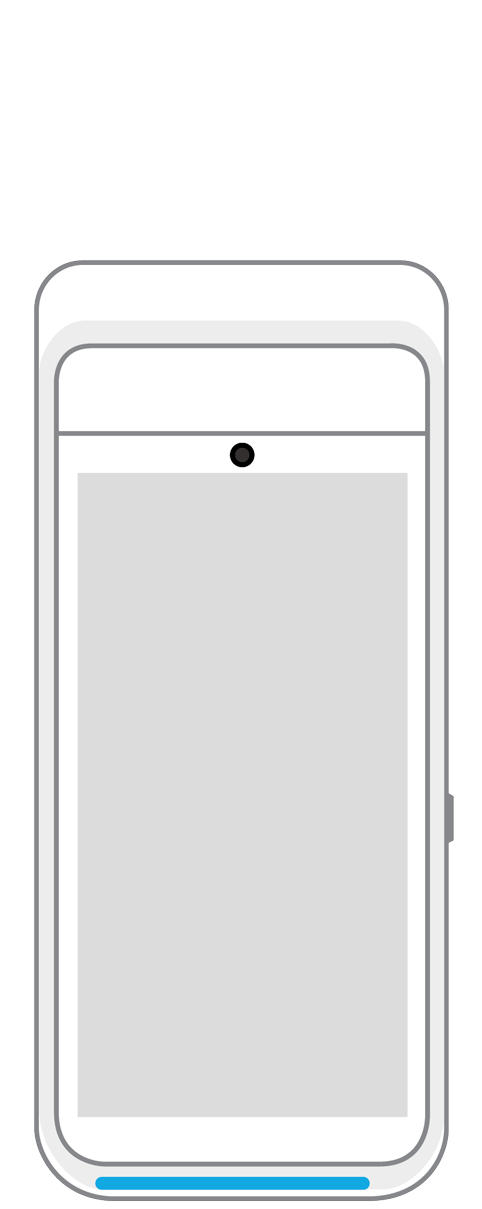 Terminal | 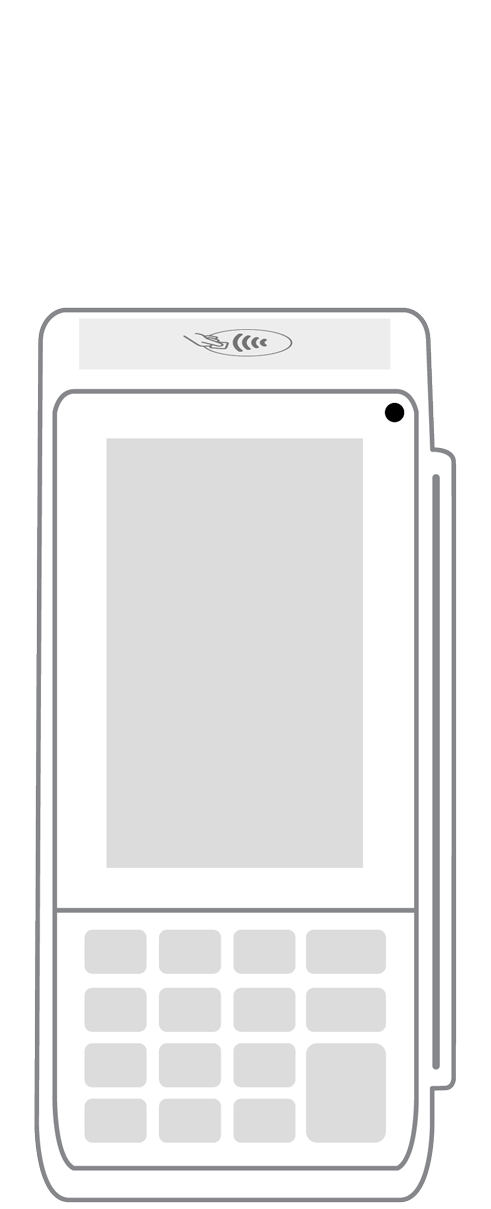 Keypad | 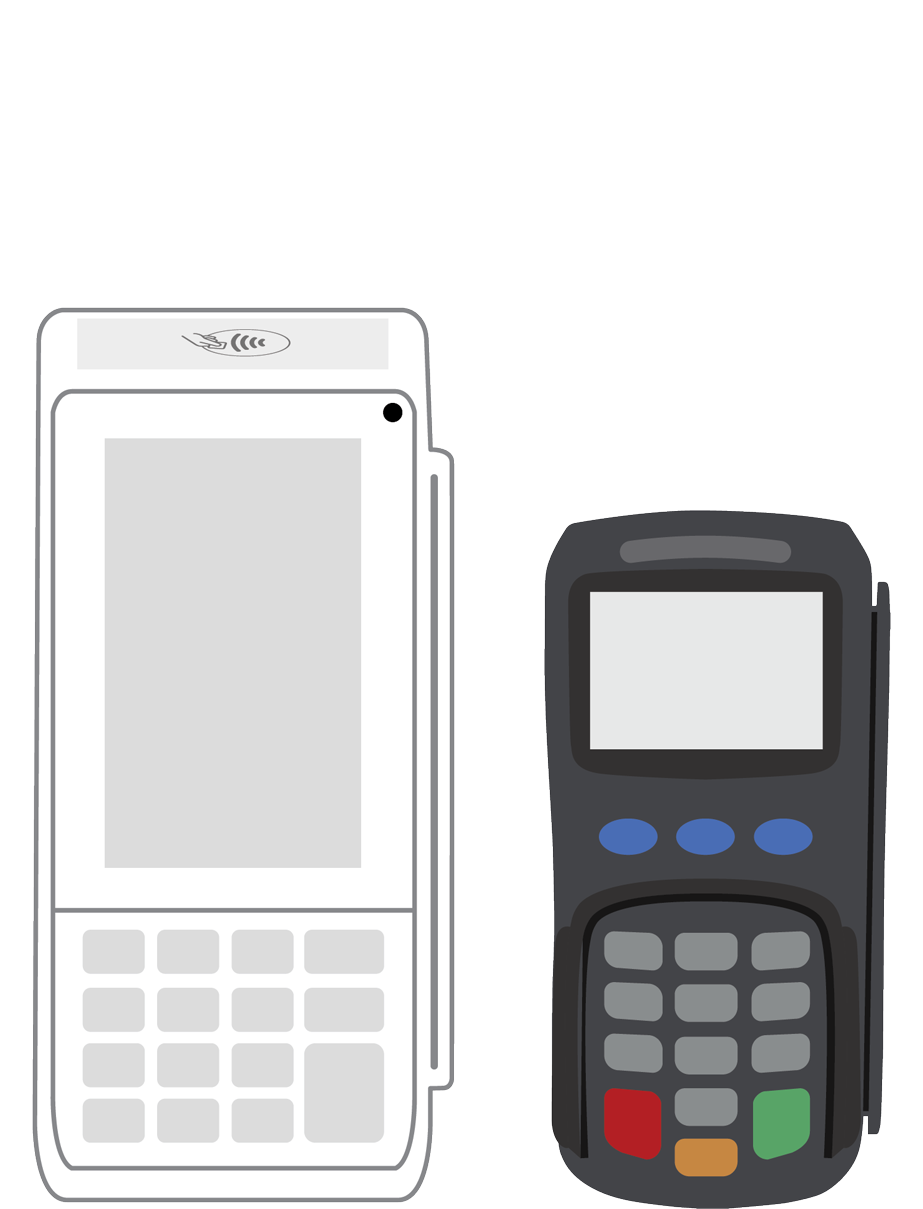 PINPad Pro |  Flex |  POS+ | |
|---|---|---|---|---|---|---|
Payment types | ||||||
EMV chip card payments (dip) | ||||||
Contactless payments (tap) | ||||||
Magstripe payments (swipe) | ||||||
PIN debit + EBT | ||||||
Device features | ||||||
Built-in barcode scanner | ||||||
Built-in receipt printer | ||||||
Customer-facing second screen | ||||||
External pinpad | ||||||
Wireless use | ||||||
Network | ||||||
Ethernet connectivity | With dock | |||||
Wifi connectivity | ||||||
4G connectivity | ||||||
Pricing | ||||||
Free Placement | ||||||