Sending invoices with Payanywhere.

Payanywhere tips
Stop chasing your customers for payments and start sending invoices from Payanywhere Inside. Invoices allow your customers to pay on their own time through a secure payments page instead of needing to make a phone call or visiting your place of business. They even have the option to set up autopay for recurring invoices! To send an invoice, log in to Payanywhere Inside and head to Business → Invoices.
- Click the orange ‘+’ button in the upper right-hand corner of your screen to create a new invoice.
- Enter purchase details, such as amount, description (optional), and whether the purchase is taxable or not.
- Fill in the customer’s information (be sure to include their email address as this is how the invoice will be sent).
- Select a due date.
- To make the invoice recurring, check “Create Recurring Series” and select the start date, end date, and the frequency in which it repeats.
- Click “SEND” or choose to save the invoice as a draft.
Your customer will receive the invoice via email.
- They will then click the link provided to submit a payment.
- The link takes the customer to a secure payments page where they can enter their card information. (Note: Link is valid for 90 days.)
- After the customer submits their payment they will receive a receipt, also via email.
- Once the payment is received the invoice will show as “Paid” in Payanywhere Inside.

Managing your invoices is very simple. To search for a particular invoice, enter the invoice #, or use the Paid, Unpaid, and Overdue filters to keep tabs on your invoice activity.
- If a customer pays an invoice with another payment method, you can edit the invoice status by clicking Mark As Paid.
- Overdue invoices give you the option to resend.
- Paid invoices can also be accessed under Activity → Transactions.
- Delete an invoice by selecting Archive. Use the Archive filter to “unarchive” an invoice.
For additional information on invoices, payment links and other features in Payanywhere Inside, head to our FAQ.
More from Payanywhere tips
Start your Payanywhere account.
Start your Payanywhere account.
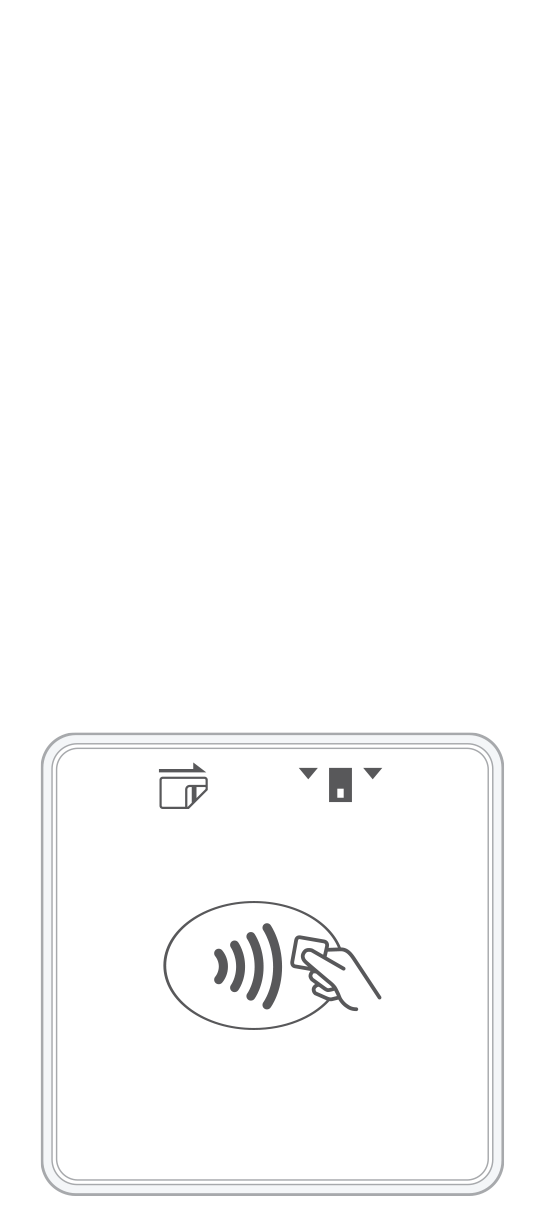 3-in-1 Reader | 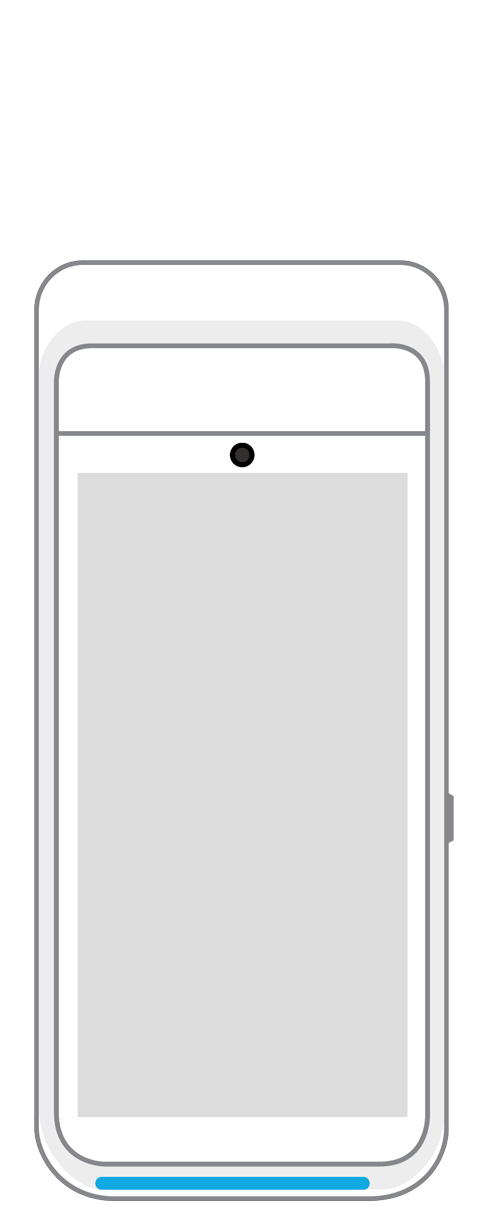 Terminal | 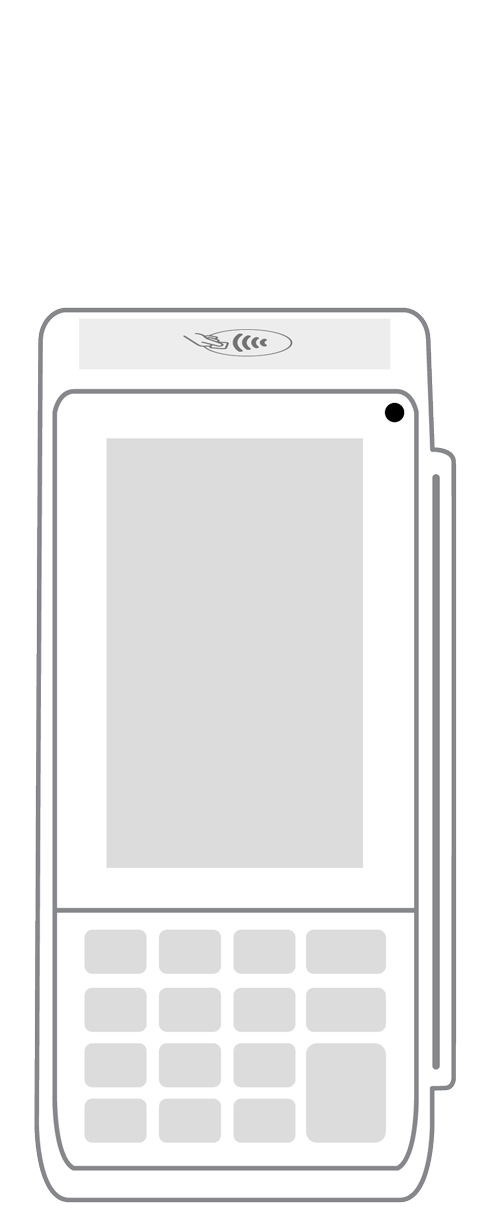 Keypad | 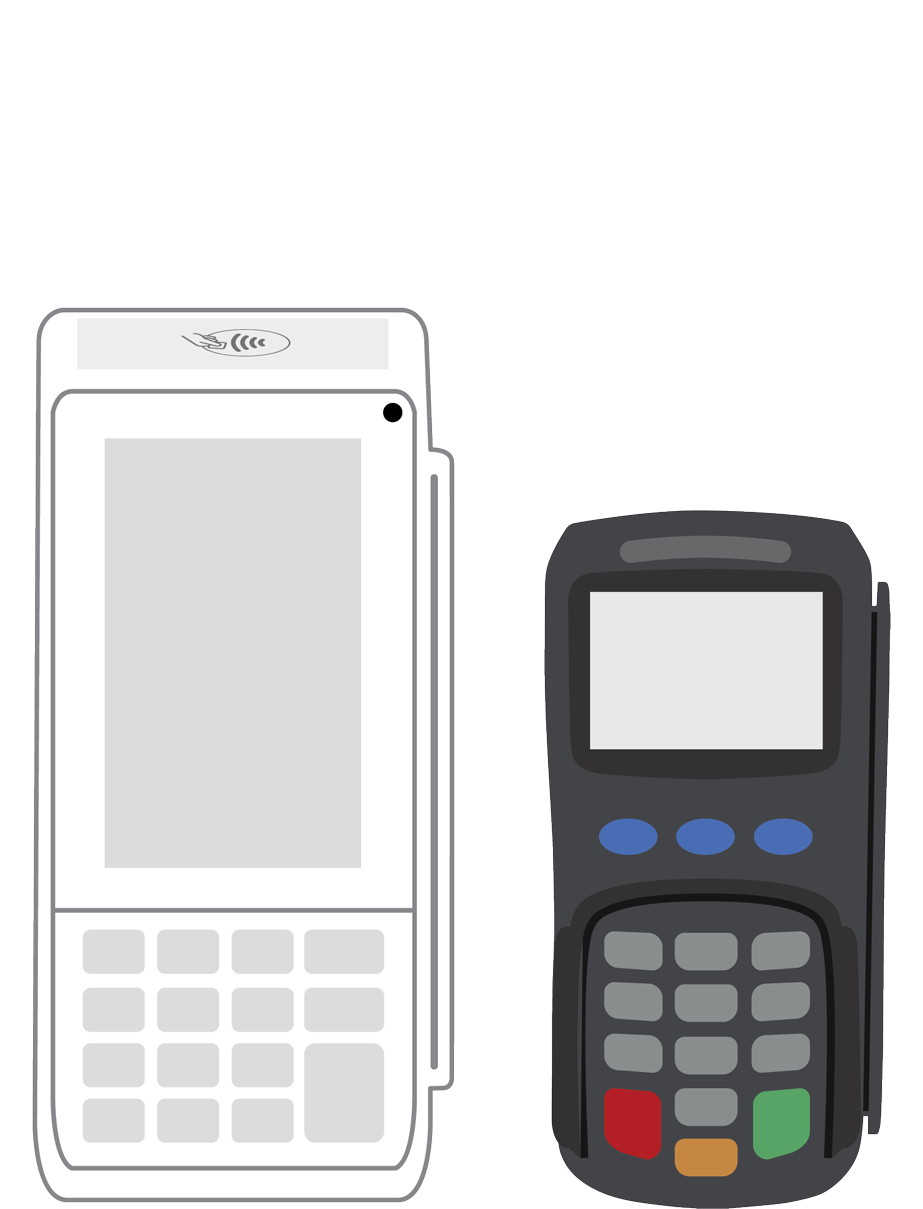 PINPad Pro | 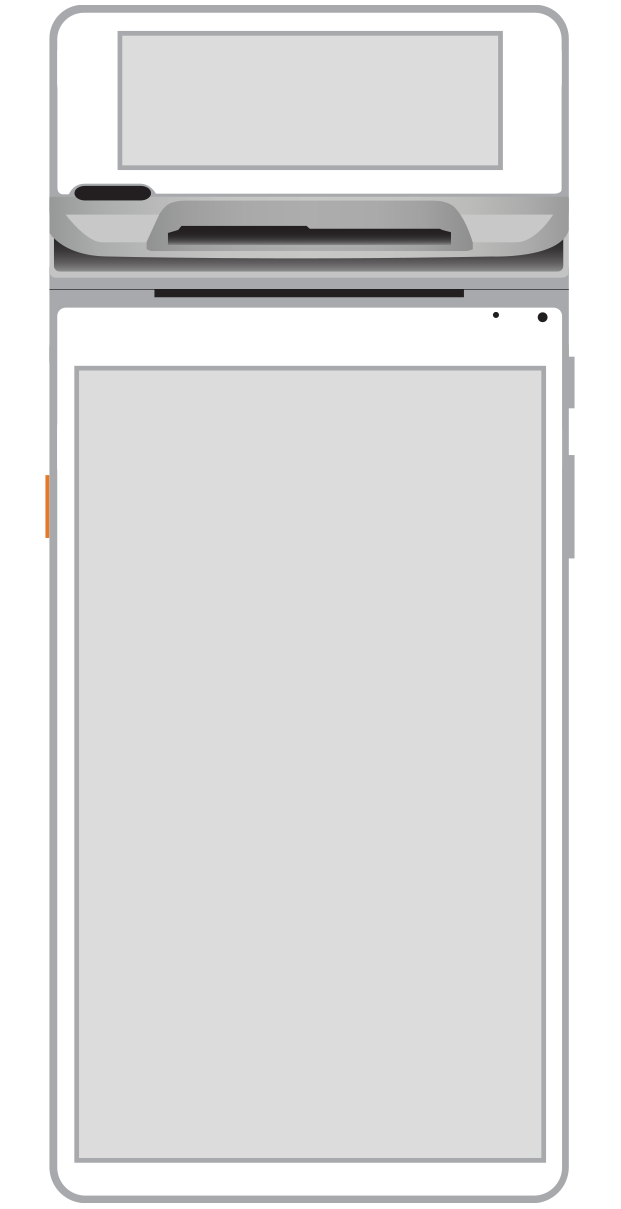 Flex | 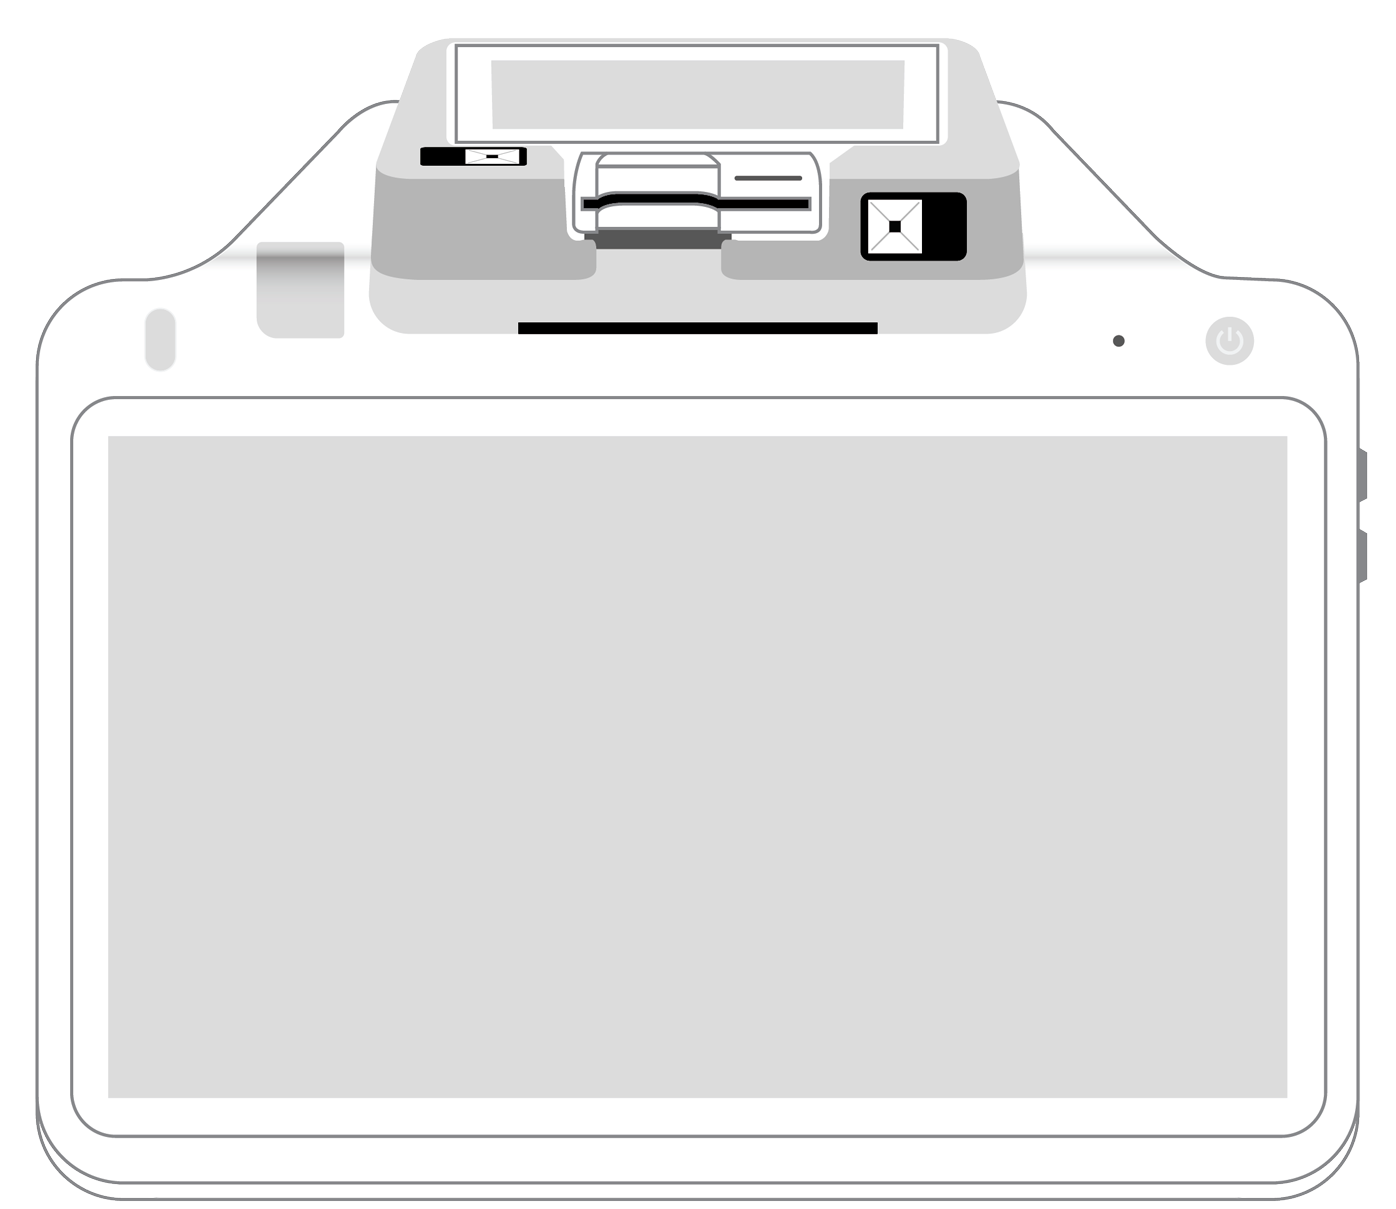 POS+ | |
|---|---|---|---|---|---|---|
Payment types | ||||||
EMV chip card payments (dip) | ||||||
Contactless payments (tap) | ||||||
Magstripe payments (swipe) | ||||||
PIN debit + EBT | ||||||
Device features | ||||||
Built-in barcode scanner | ||||||
Built-in receipt printer | ||||||
Customer-facing second screen | ||||||
External pinpad | ||||||
Wireless use | ||||||
Network | ||||||
Ethernet connectivity | With dock | |||||
Wifi connectivity | ||||||
4G connectivity | ||||||
Pricing | ||||||
Free Placement | ||||||